POS configurations
Who: an Admin. When: setting up how a Restaurant register works, such as its menu, tabs, tips and what happens after an order.
Every Restaurant register uses one POS configuration. One configuration can serve many registers. Use a separate configuration for a stand that needs a different menu or different settings.
Quick version
Setup › POS configurations › open a configuration, or click Create › change the settings › Save.
Add a configuration
- Go to Setup › POS configurations and click Create.
- Type a Configuration name, such as Concession stand.
- To start from the settings of another configuration, choose it in Configuration to duplicate.
- Click Create. The new configuration opens.
To change an existing one, click its name in the list.
Basic setup
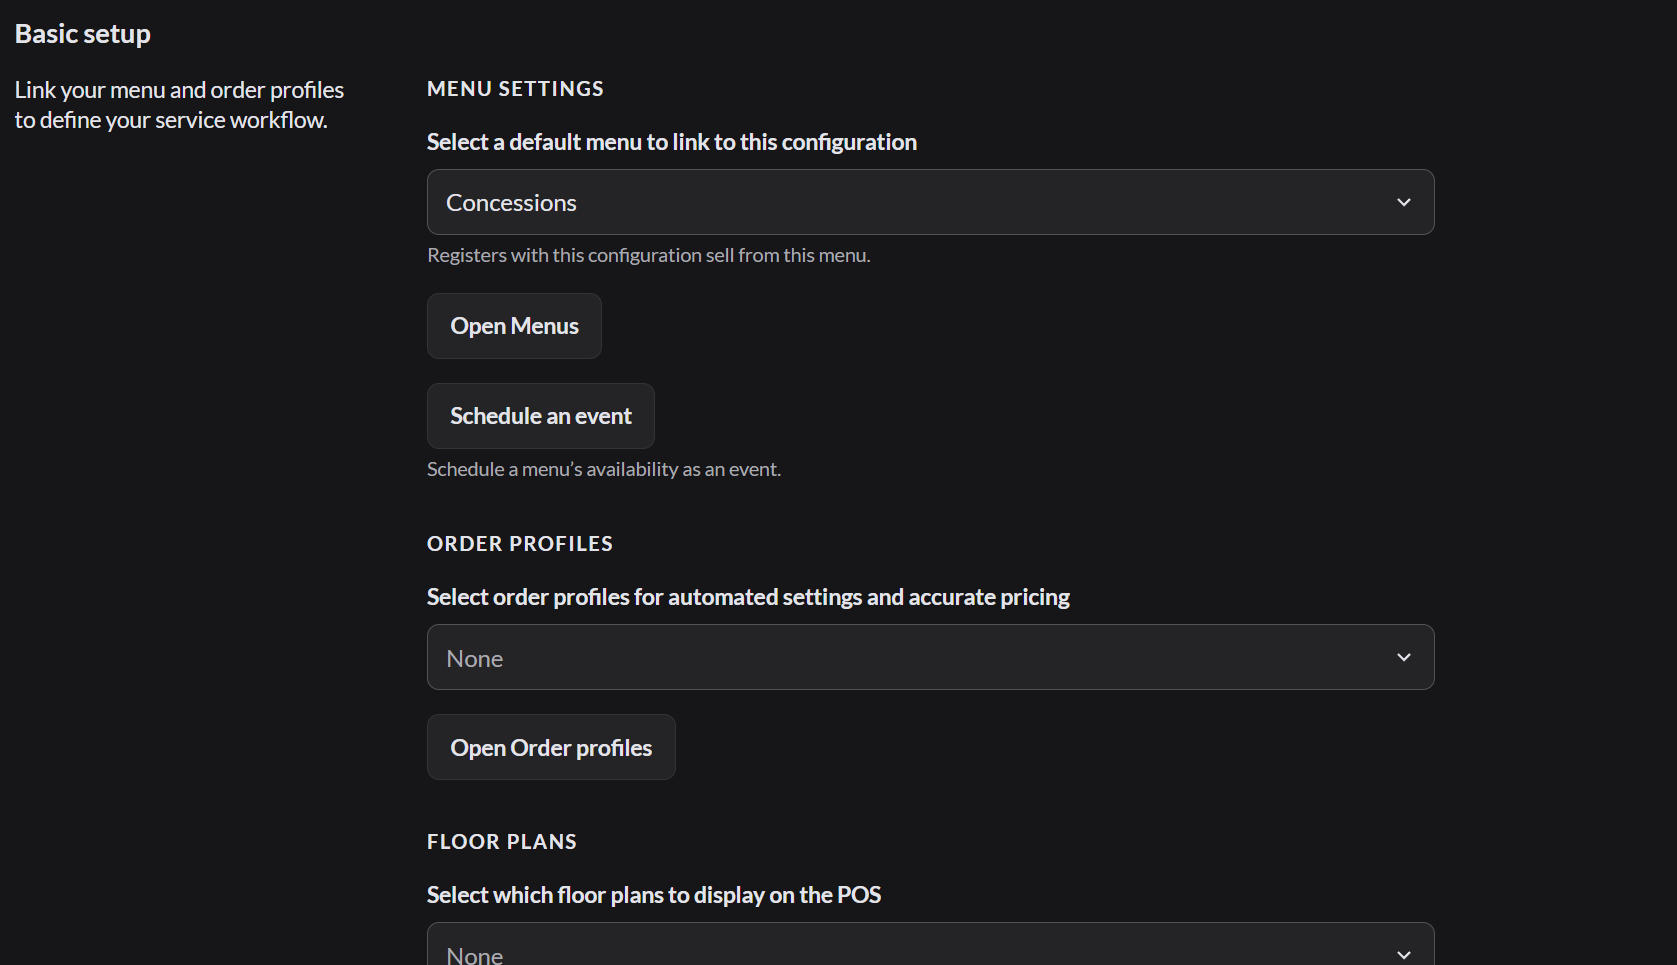
| Setting | What it does |
|---|---|
| Select a default menu to link to this configuration | The menu the registers show. How to build a menu |
| Schedule an event | Shows a different menu at set times, such as a race-day menu |
| Select order profiles | The order profiles staff can choose. More about order profiles |
| Select which floor plans to display on the POS | With none selected, registers show every floor plan of their outlet |
Order management
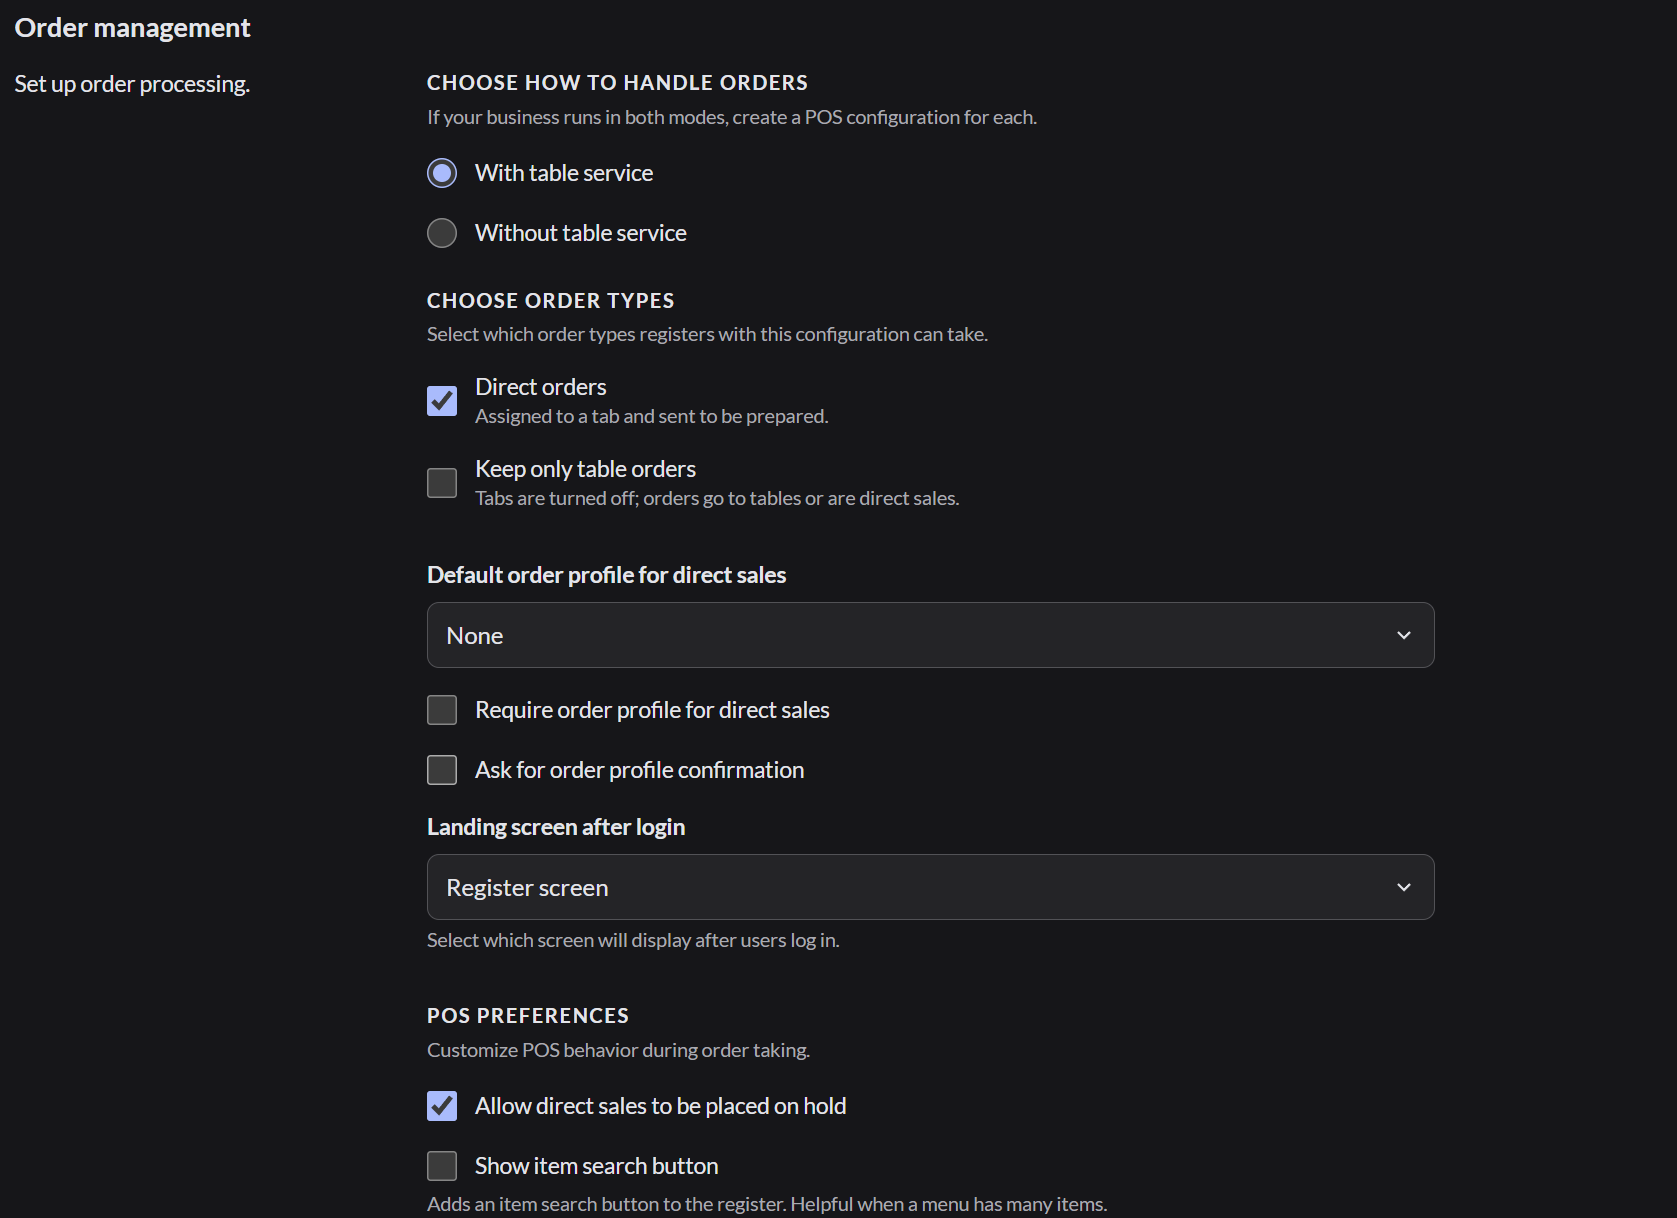
| Setting | What it does |
|---|---|
| With table service or Without table service | Whether staff use tables |
| Direct orders | Turns on tabs. On by default |
| Keep only table orders | Turns tabs off. Orders go to tables or are paid right away |
| Default order profile for direct sales | The profile a counter order starts with |
| Landing screen after login | The screen staff see after they sign in: the register, tables or orders |
| Allow direct sales to be placed on hold | Shows the On hold key on counter orders. On by default |
| Show item search button | Adds a search button to the order screen. Helpful when a menu has many items |
Order tickets and receipts
These settings choose what prints on kitchen tickets and receipts, such as the Number of covers or the Order profile. Print receipt when an order is paid prints a receipt every time. It's off by default.
Payments
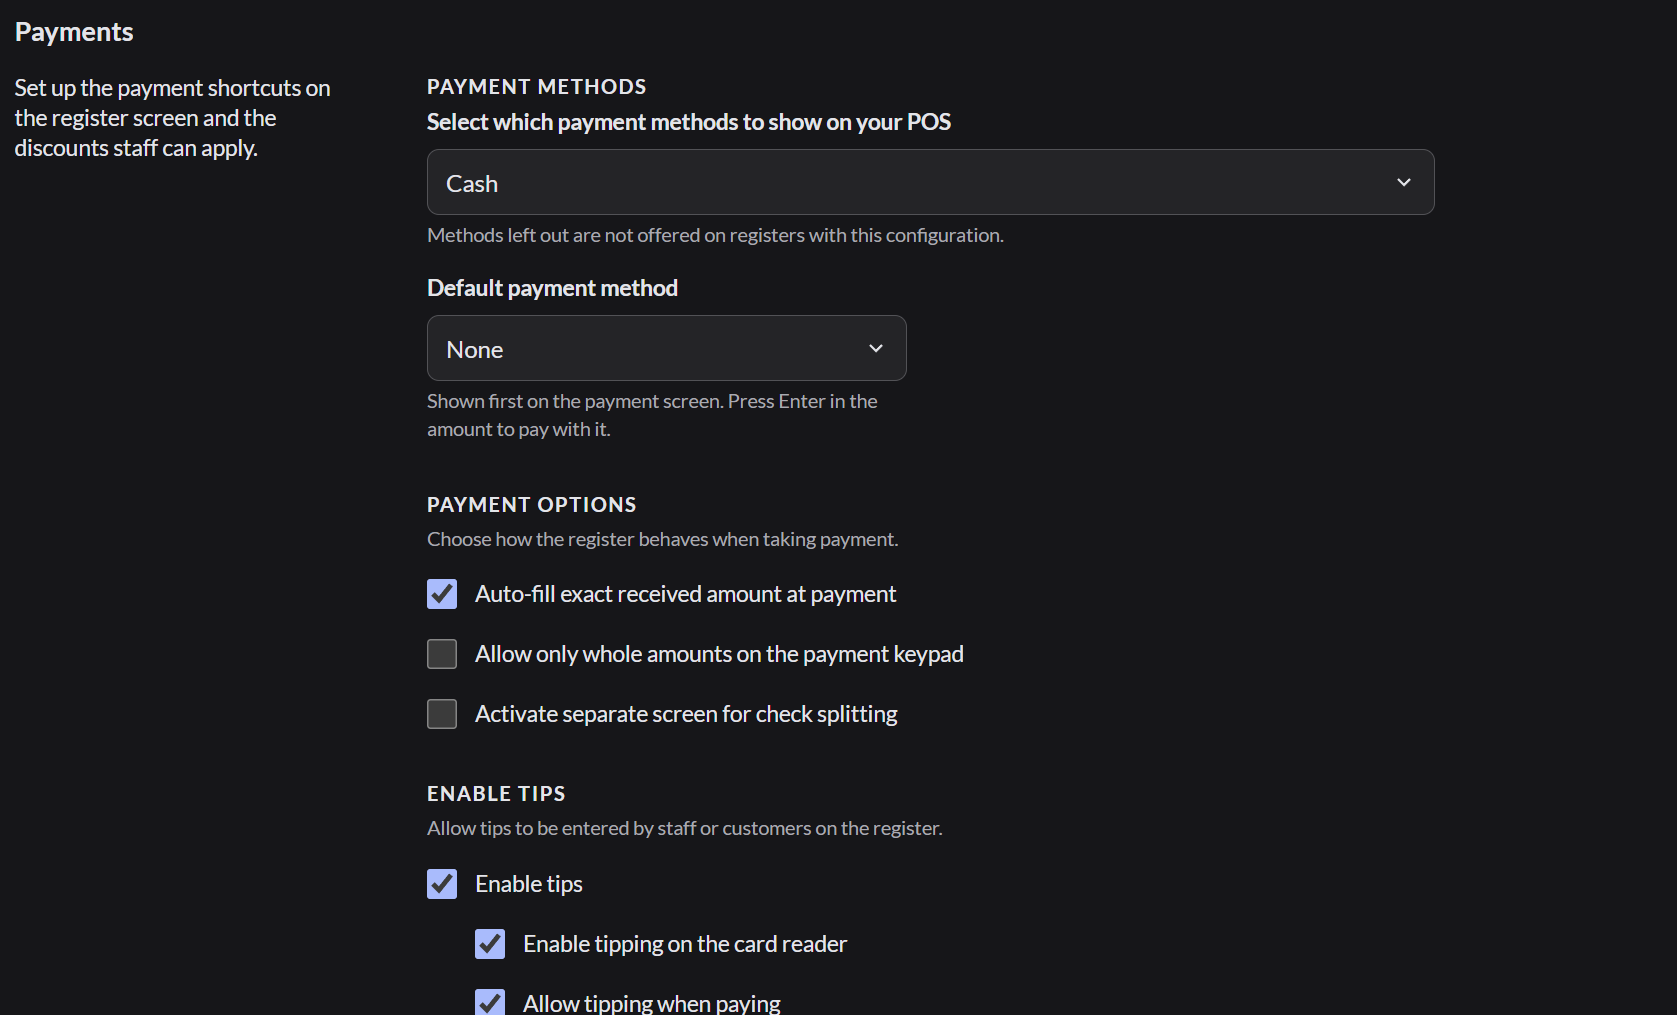
| Setting | What it does |
|---|---|
| Select which payment methods to show on your POS | The payment types staff can choose |
| Default payment method | Picked first on the pay screen |
| Activate separate screen for check splitting | Opens a full screen for splitting a check. Off by default |
| Enable tips | Lets staff add tips. Enable tipping on the card reader asks the customer for a tip on the reader |
| Shortcut 1 and Shortcut 2 | Payment buttons on the order screen for quick payment |
| Seconds on screen | How long the "Amount paid" screen stays up after a payment |
| Select discount options to choose from on the POS | The discounts staff can use. New discounts are offered on every configuration |
Device settings
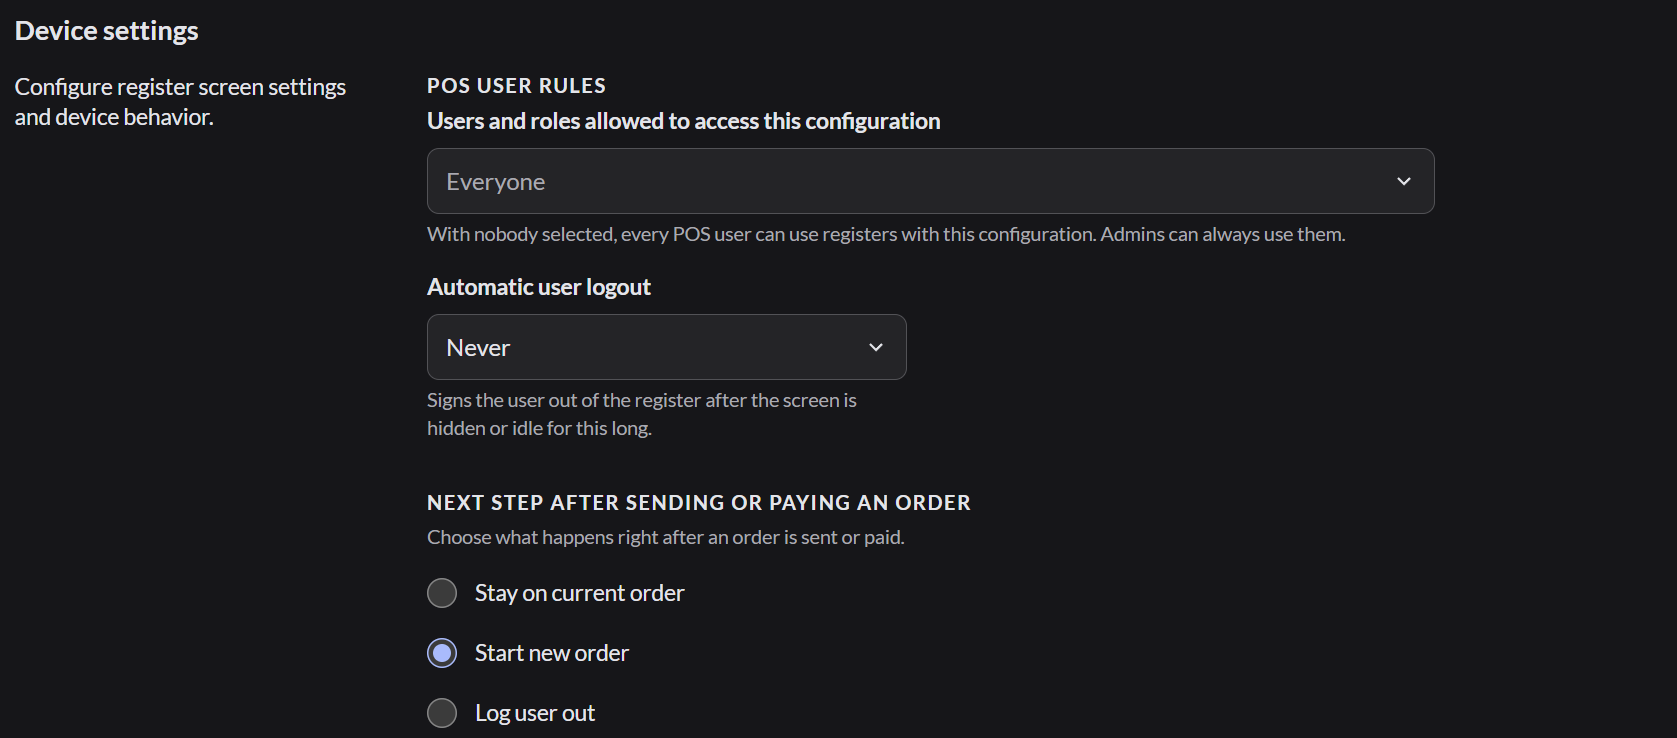
| Setting | What it does |
|---|---|
| Users and roles allowed to access this configuration | Who can use these registers. Admins can always use them |
| Automatic user logout | Signs staff out after the screen is idle |
| Next step after sending or paying an order | Stay on current order, Start new order (the default) or Log user out |
Save and link it to a register
- Click Save at the top.
- To use it on a register, go to Setup › Outlets and registers, open the outlet, and open the register.
- Under Selling, choose the POS configuration and click Save. How to let a register sell Restaurant