Floor plans and tables
Who: manager or Admin. Cashiers can also do this unless an Admin has turned it off. When: once for each seating area.
A floor plan is one area, such as a dining room or patio, with its tables. Servers see it on the Tables screen.
Quick version
Setup › Floor plans › Add › name › Add table › number of tables › Done › Save.
1. Create the floor plan
Go to Setup › Floor plans and click Add. If there are no floor plans yet, the button says Add floor plan. Type a name, such as Grandstand Grill, and click Save.
2. Add tables
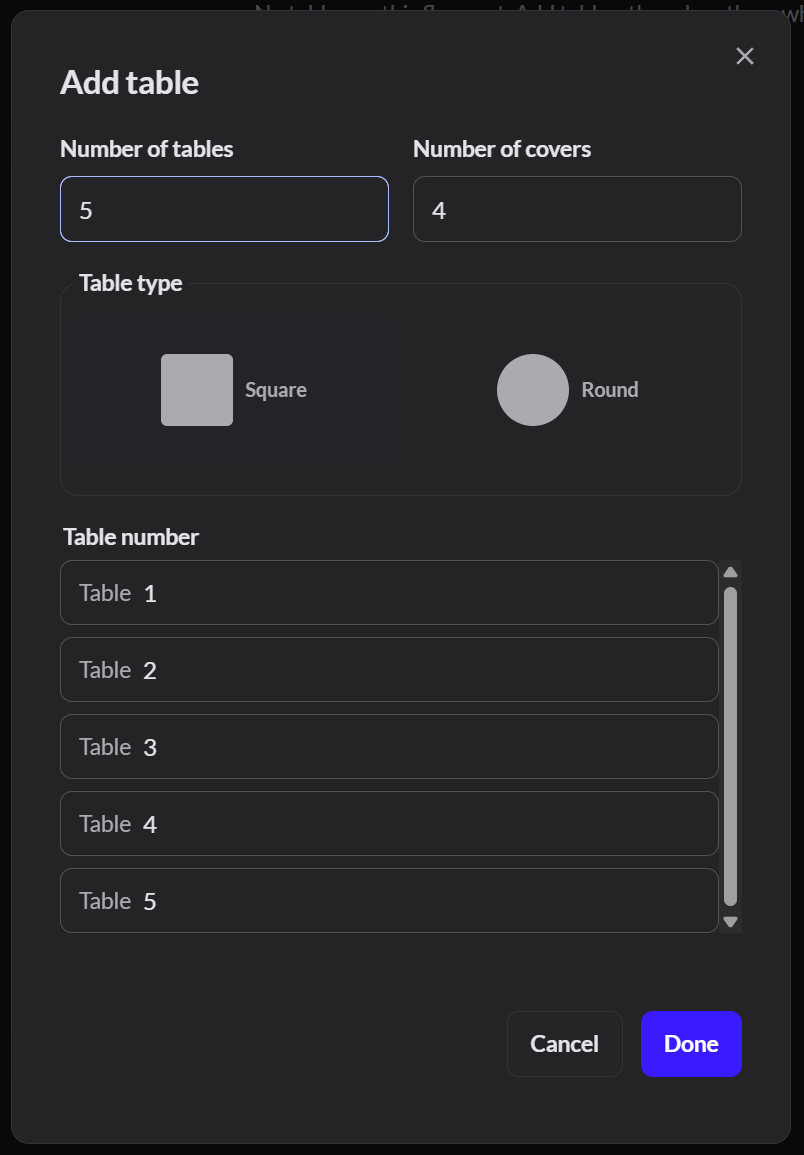
Click Add table. Set the Number of tables, the seats per table under Number of covers, and the shape. Click Done.
3. Arrange and save
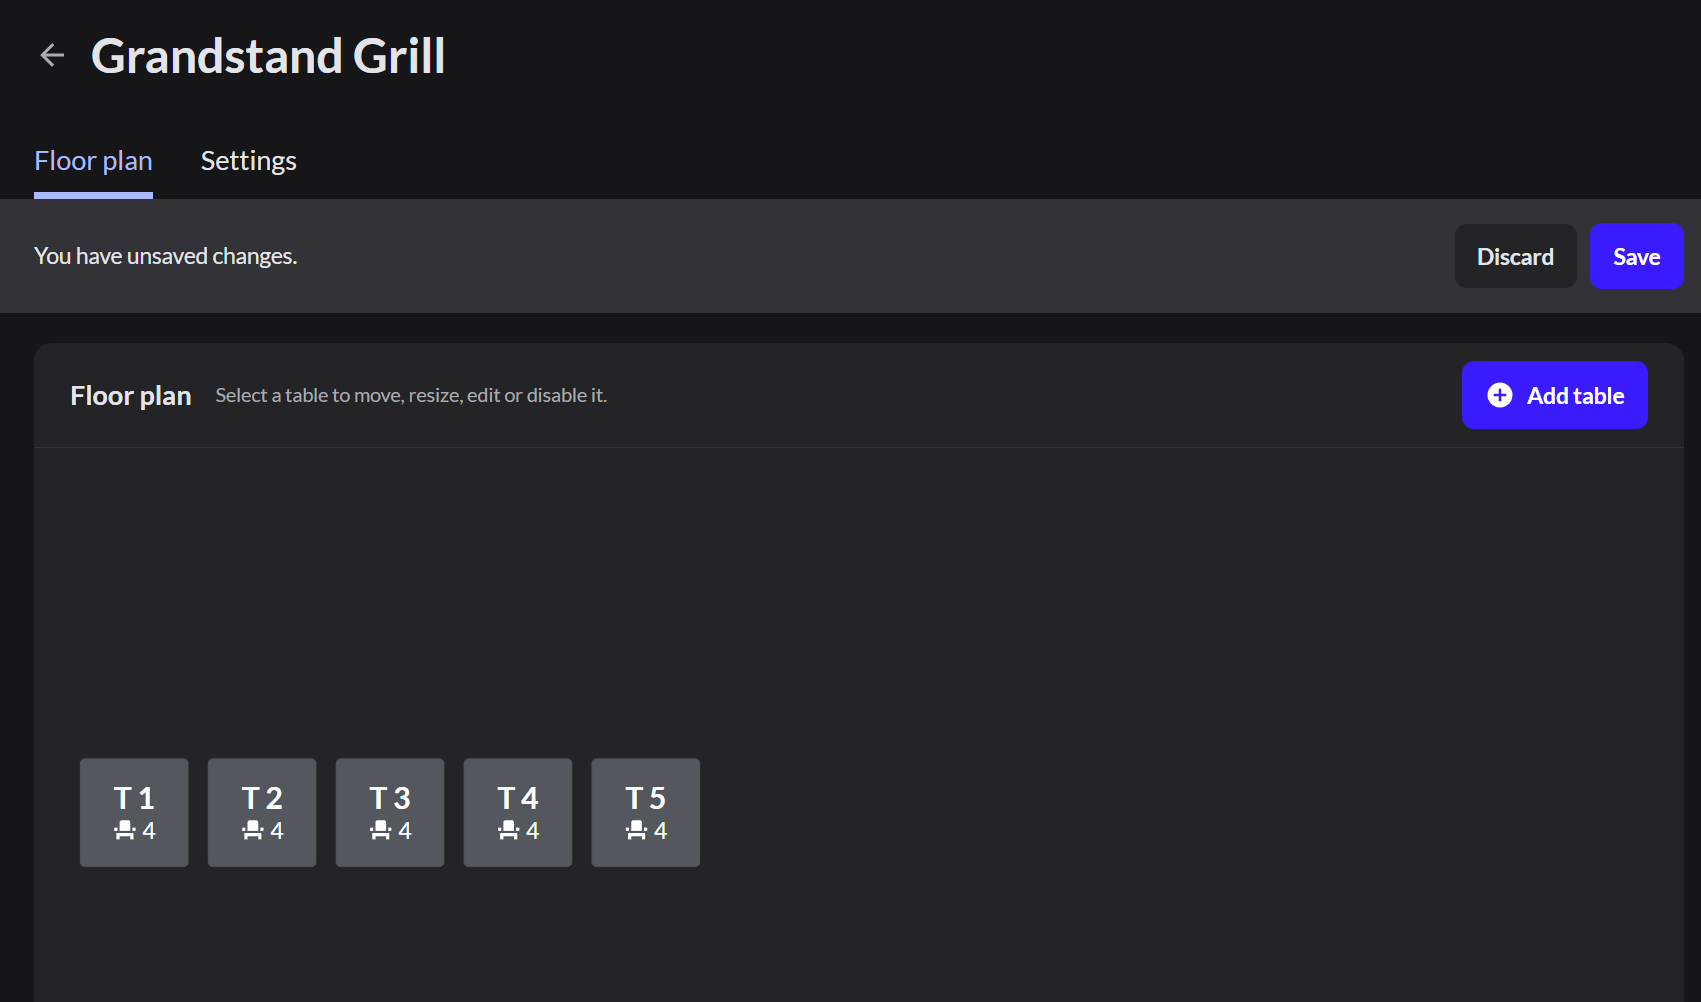
Drag the tables to where they are in the room, then click Save.
Settings
On the Settings tab, you can rename the floor, link an order profile and add a background image of the room. You can also have the app ask for a cover count when a table is opened.